800g recipe
Used for centuries in Indian and Ayurvedic cooking, ghee is a form of clarified butter that’s free from milk solids, giving it a higher smoke point, longer shelf life, and deeper, nuttier flavor than regular butter.
The best part? Making ghee at home is incredibly simple and requires just one ingredient—high-quality, unsalted butter.
Why Use Ghee Instead of Butter?
Ghee isn’t just a flavorful butter alternative; it comes with real benefits:
• Higher Smoke Point
– Regular butter burns at around 175°C (350°F), while ghee can handle up to 250°C (482°F), making it perfect for frying and roasting.
• Lactose & Casein-Free
– The process of making ghee removes the milk solids, making it easier to digest for those sensitive to dairy.
• Longer Shelf Life
– Thanks to the removal of moisture, ghee can be stored without refrigeration for months.
• Rich in Fat-Soluble Vitamins
– Ghee is packed with vitamins A, D, E, and K, which support immune function, bone health, and skin regeneration.
• Supports Gut Health
– Traditional Ayurveda recognizes ghee as beneficial for digestion, thanks to its butyrate content, a short-chain fatty acid that promotes gut health.
Now, let’s get into how you can make it yourself!
How to Make Ghee from 800g Butter

• 800g unsalted butter (preferably organic, grass-fed) but for this recipe I’m using 100% Hokkaido milk butter by Snow “meg milk” which can be found at San-A.
• A medium to large heavy-bottomed saucepan
• A fine mesh strainer, cheesecloth, or coffee filter
• A heat-resistant glass jar or airtight container for storage
• A spoon or ladle
Instructions:
1. Melt the Butter
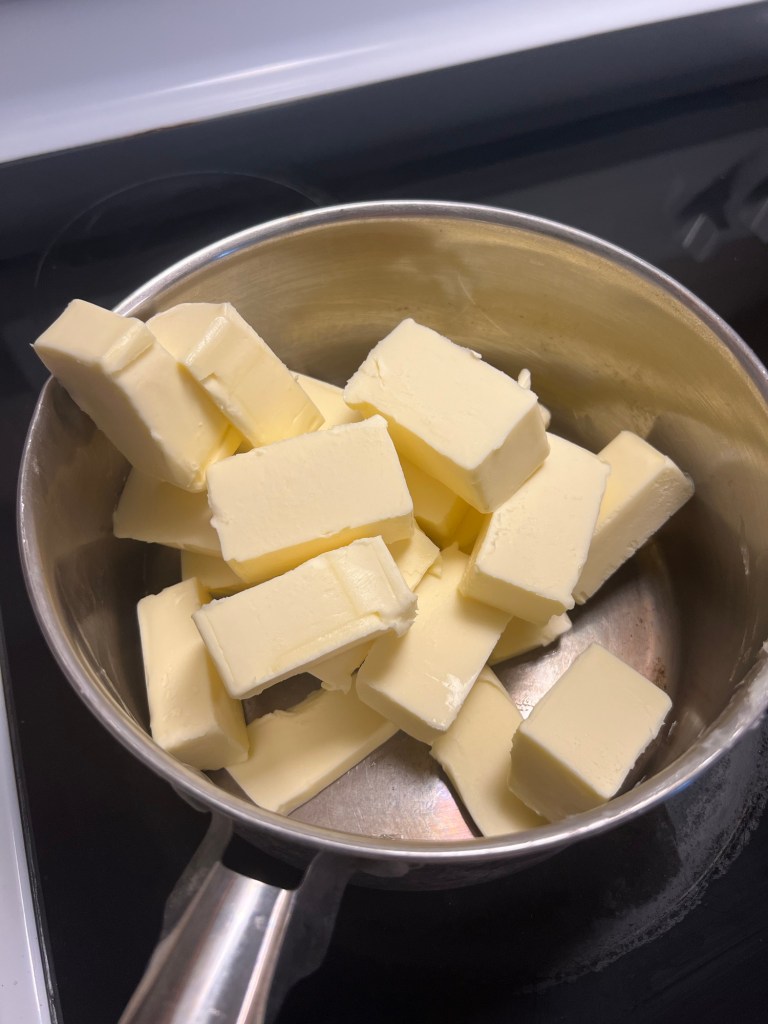
• Add your butter to a saucepan over low to medium-low heat.
• Let it melt slowly—no rushing this step!
2. Simmer and Watch It Separate
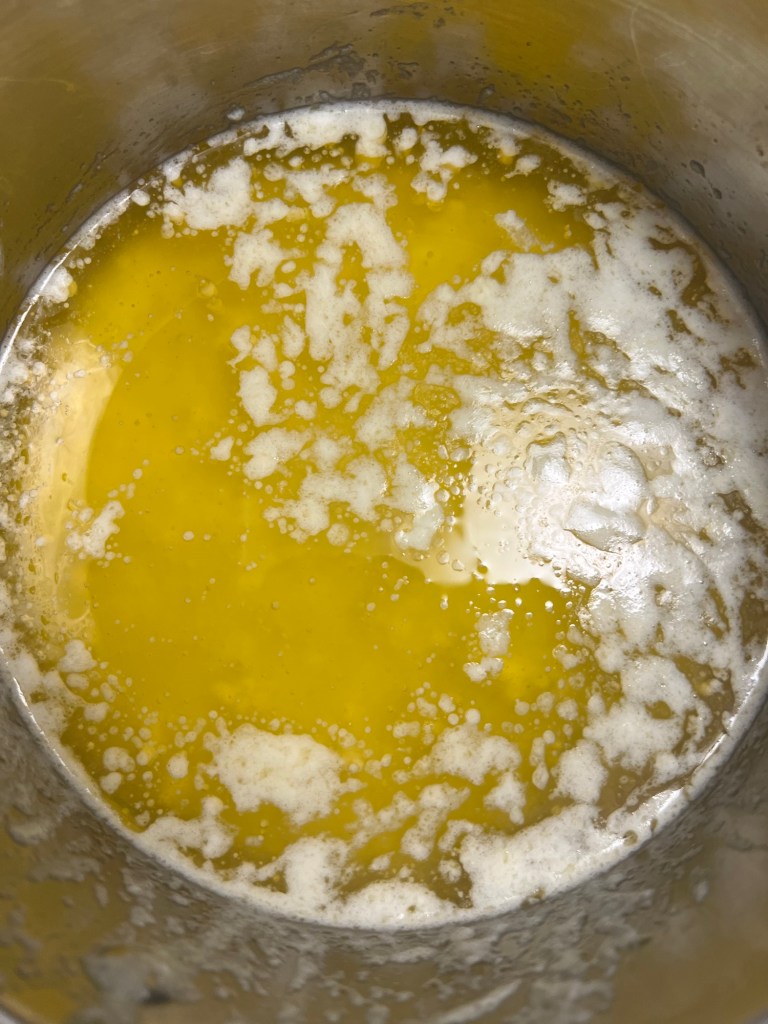
• As the butter melts, it will split into three layers:
• A foamy layer on top (these are the milk solids and water evaporating).
• A golden liquid in the middle (this is your ghee).
• White milk solids sinking to the bottom.
• Allow it to gently simmer for 15–25 minutes, stirring occasionally to prevent burning.
3. Skim the Foam
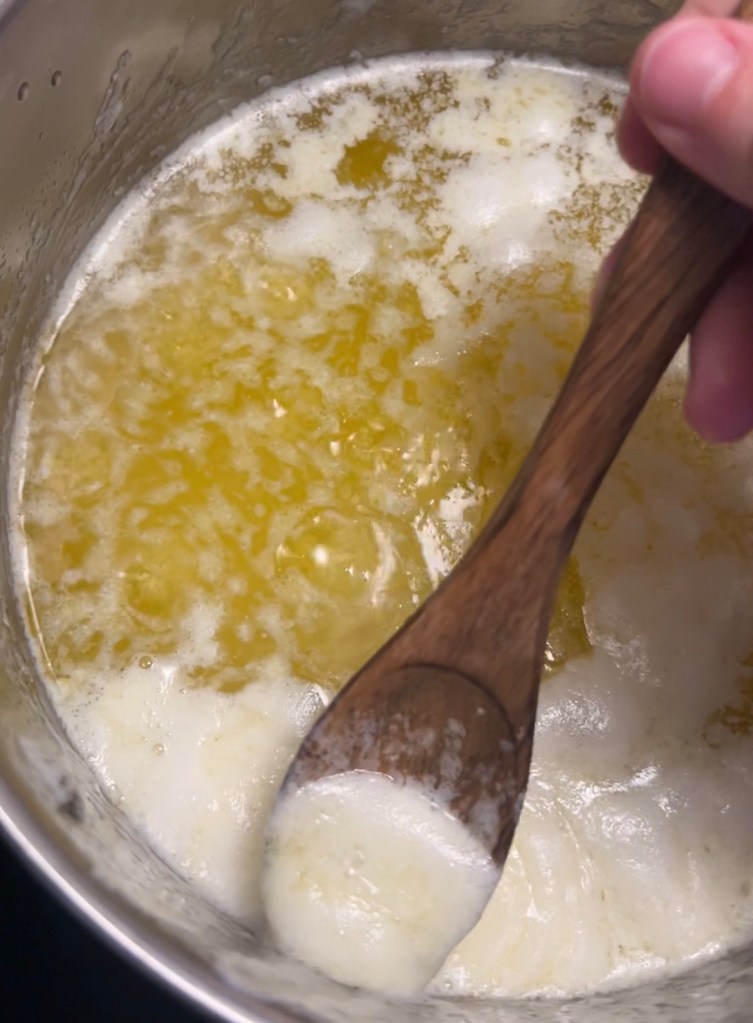
• As froth forms on top, carefully skim it off with a spoon.
• The bubbling will slow down as the moisture evaporates.
4. Look for the Right Color and Aroma
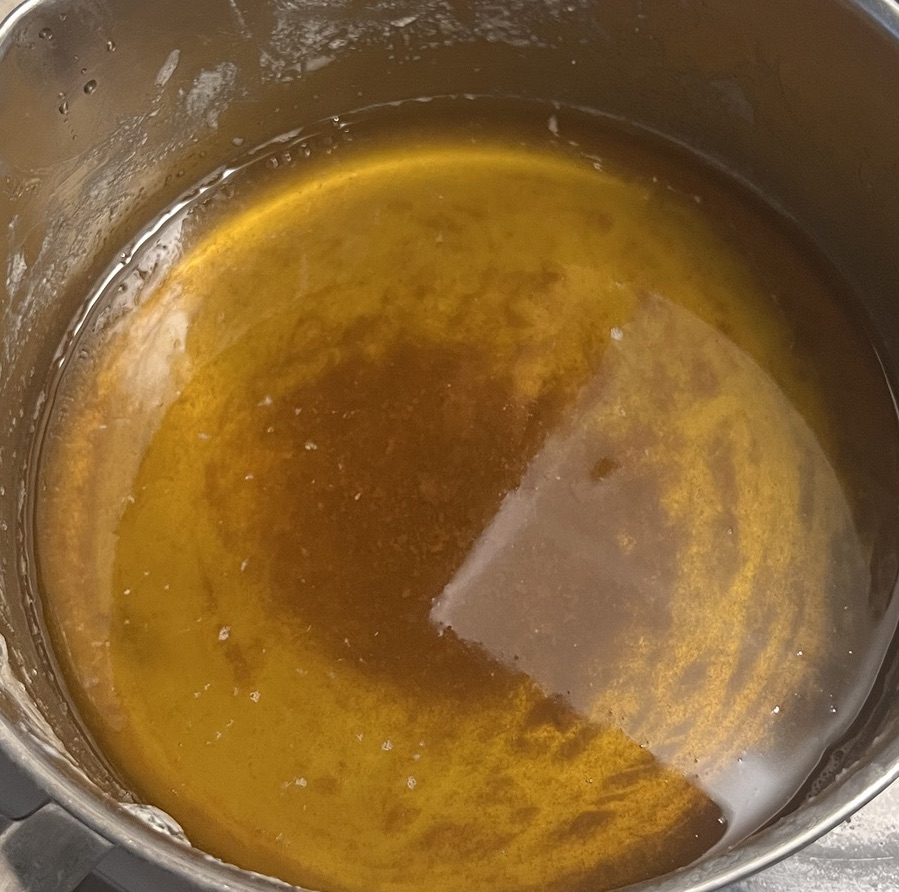
• Once the milk solids at the bottom turn golden brown, and the liquid becomes clear and golden, your ghee is done!
• You’ll know it’s ready when it gives off a nutty, caramel-like aroma.
5. Strain & Store
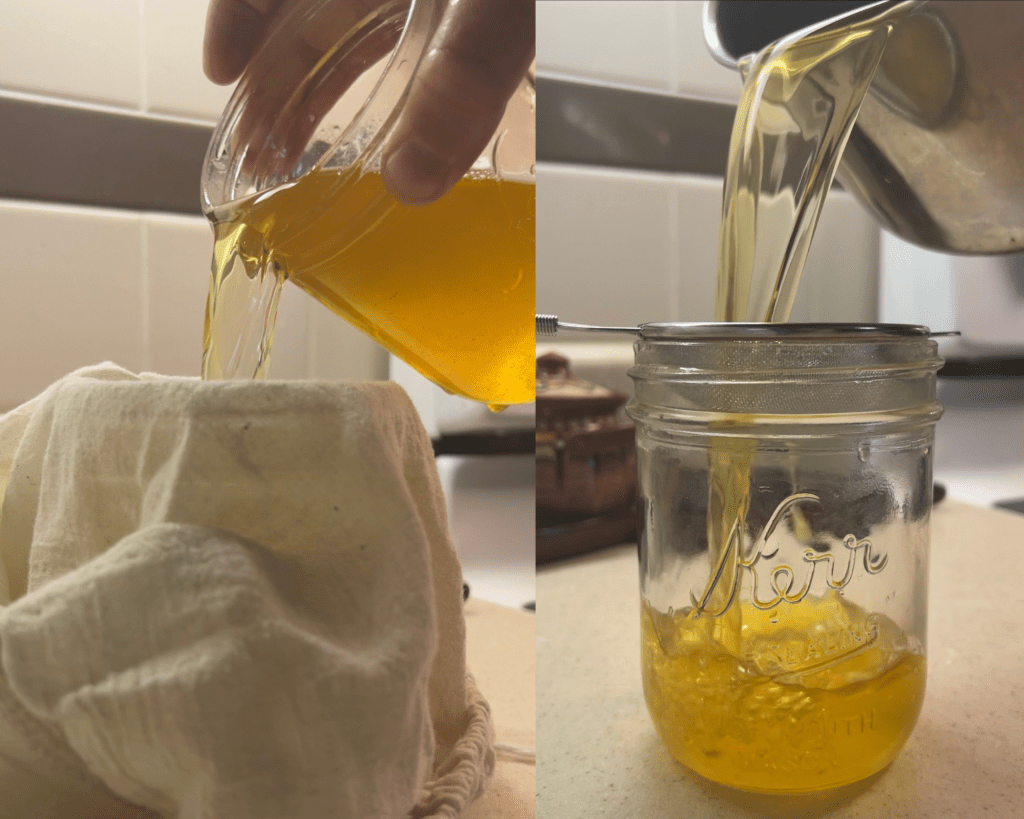
• Turn off the heat and let it cool slightly.
• Strain the liquid through a cheesecloth-lined strainer or a coffee filter into a clean, dry jar.
• Discard the browned milk solids (or save them to mix into rice or veggies for extra flavor).
6. Storage & Shelf Life
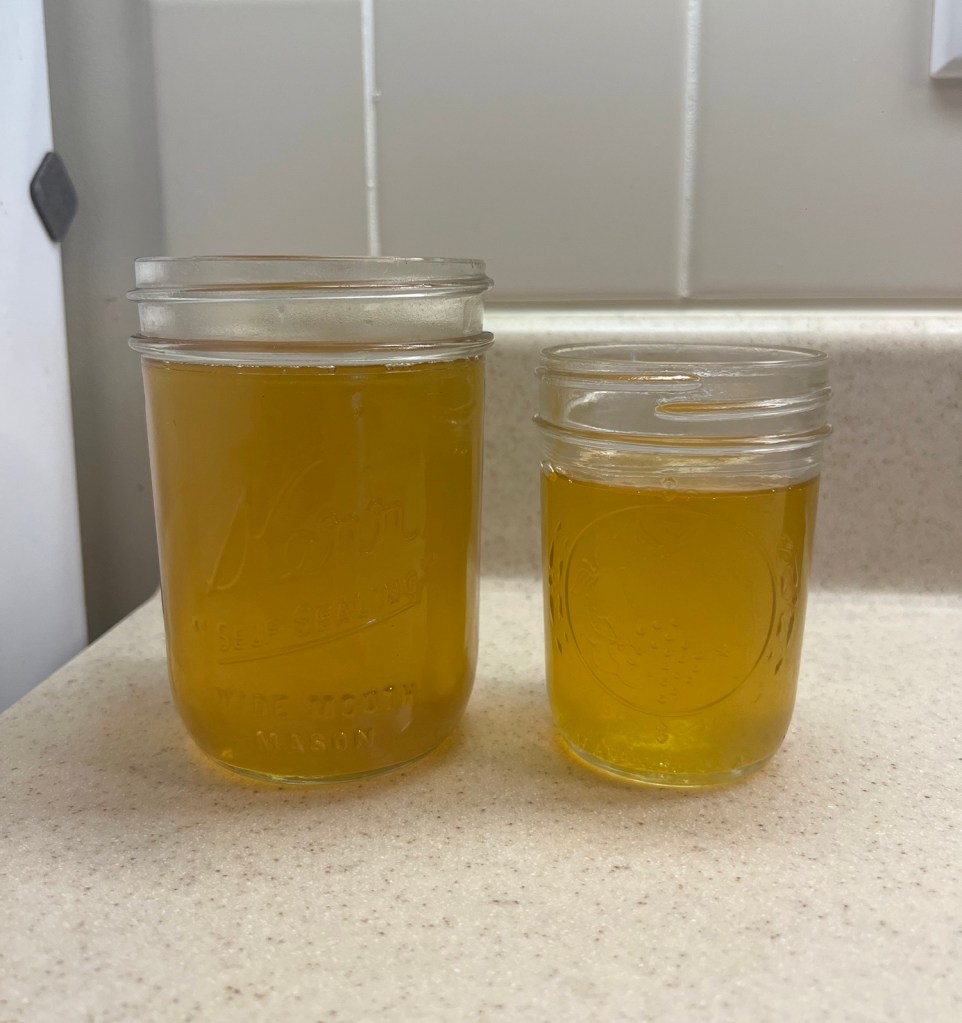
• Let the ghee cool completely before sealing the jar.
• Store at room temperature for up to 3 months or in the refrigerator for up to a year.
How to Use Your Homemade Ghee
Ghee is incredibly versatile. Use it in place of butter or oil for:
✔ Sautéing & frying – No more burnt butter!
✔ Baking – Adds a richer, deeper flavor to baked goods.
✔ Drizzling over roasted veggies – Enhances flavor while keeping it dairy-free.
✔ Making bulletproof coffee – A popular option for extra creaminess and sustained energy.
✔ Cooking curries & stir-fries – Traditional in Indian cuisine for a reason!
Making your own ghee at home is simple, cost-effective, and far superior to store-bought versions. Give it a try, and once you experience the flavor and benefits, you might never go back to regular butter again!
